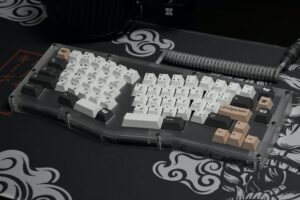
Should You Invest in an Ergonomic Keyboard? Nina 11/30/202112/18/2021 TECHNOLOGY We have heard of ergonomic chairs, but we still tend to make the wrong choice when it comes to our health, and purchase a gaming...
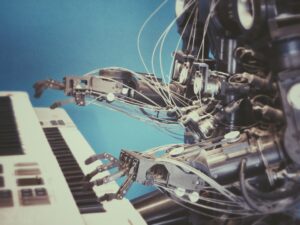
Will AI Ever Replace Actual Artists? Nina 10/28/202112/18/2021 ART Art is amazing and with how technology is developing, we see more art created and what is better, more artists finding their way to the...
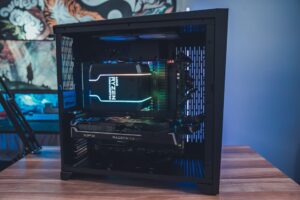
Best Graphics Cards On The Market Nina 10/22/202112/18/2021 GRAPHIC DESIGN It was never this hard to get a new graphics card since the demand has exploded over the past couple of years. This is mainly...
Should You Get a PC or Laptop in 2022? Nina 10/13/202112/18/2021 TECHNOLOGY One question has been asked so many times, and every time during the year, it comes up again. Should I get a PC or a...
How Important Are Hobbies For Children Nina 09/12/202112/18/2021 ART Every child is unique in their own way. Some children will like to dance to the sound of music and others will paint whenever they...